
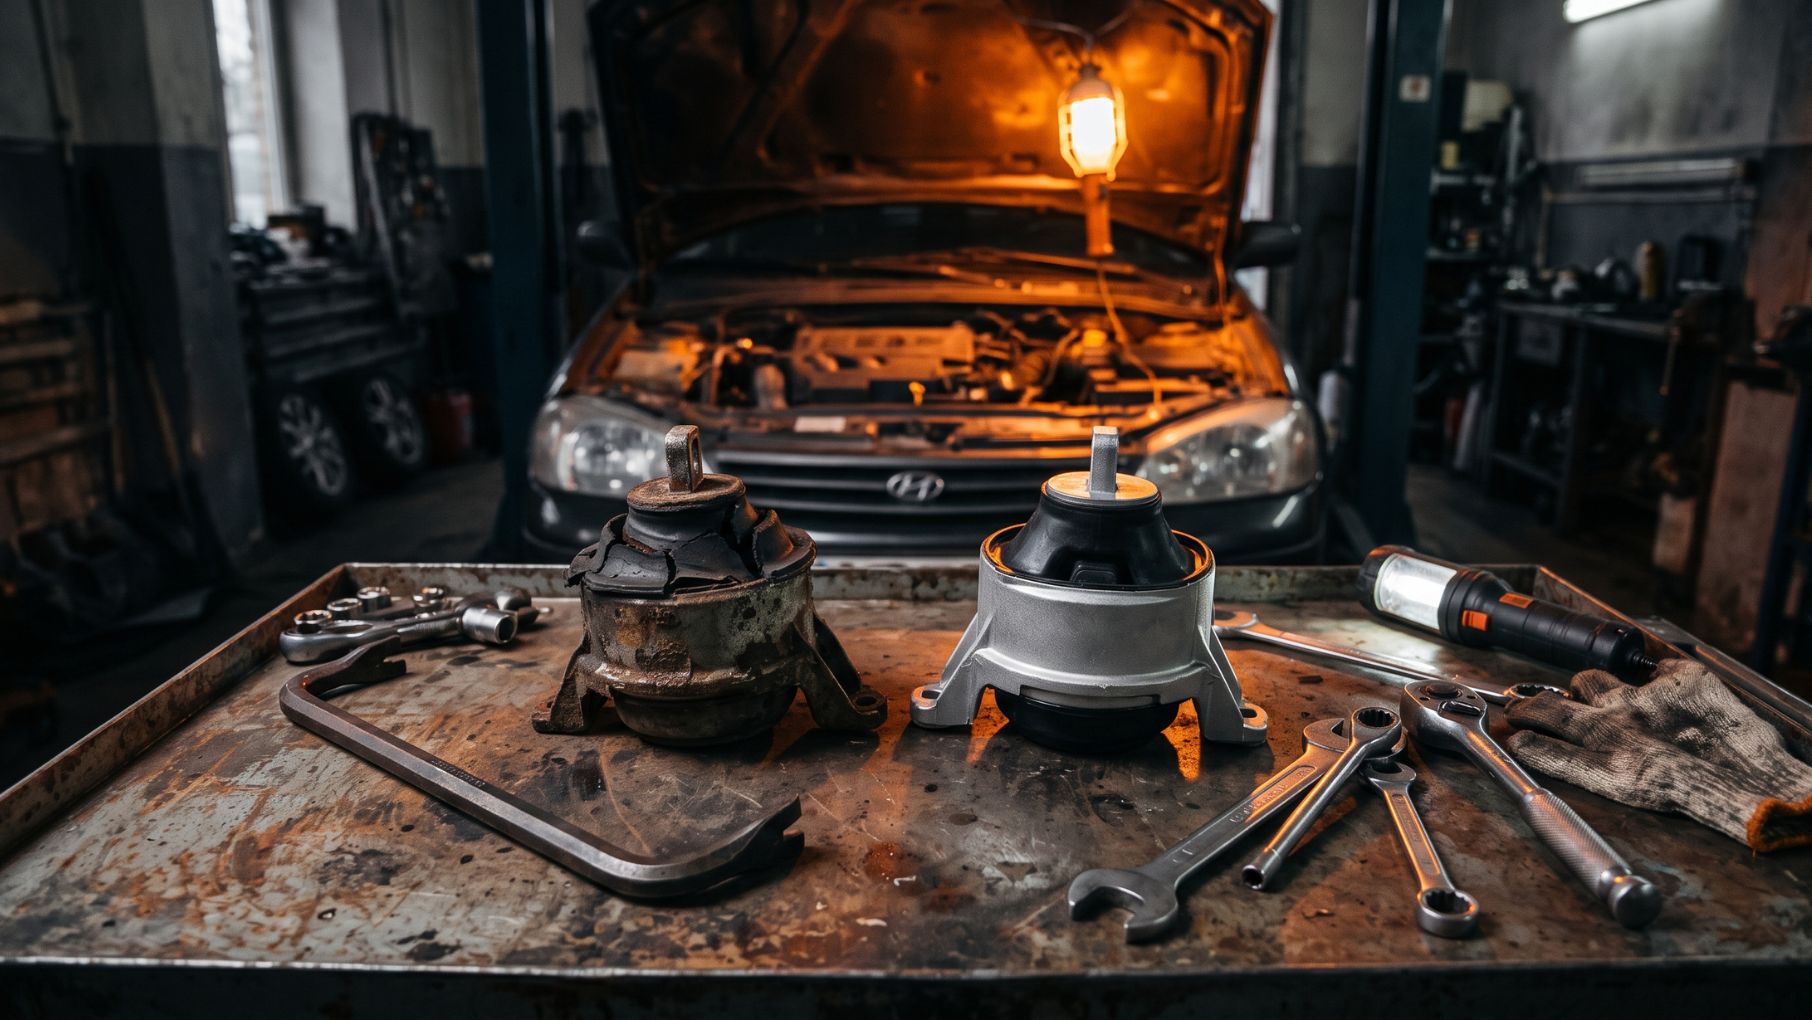
Engine Mounts: Signs of Failure and How to Check Them
Engine mounts are checked by inspecting their flexible elements and fasteners and assessing how the powertrain behaves during operation. Increased cabin vibration, impacts during starting or pulling away, torn material and a collapsed mount may indicate a fault. However, one symptom alone is not enough to justify replacement. Establish whether the problem is actually caused by the mounts rather than rough engine operation or another component.
What Engine Mounts Do
Engine mounts hold the powertrain in its intended position and reduce vibration transmission to the body. They also allow the limited movement that occurs during starting, acceleration and changes in load.
Mount design varies between vehicles. Rubber-to-metal mounts use a flexible rubber element. Hydraulic mounts also use fluid to damp vibration. Some vehicles have controlled mounts whose characteristics change according to operating conditions.
Engine and transmission mounts work as a system. Vibration felt through the steering wheel or seat therefore does not directly identify which component is faulty. Wear in one mount can change the loads acting on the others.
Signs of a Faulty Engine Mount
The first change a driver notices often concerns comfort. The steering wheel, seat or dashboard may vibrate more strongly at idle. A jolt may be felt when starting or switching off the engine. If a mount no longer controls powertrain movement properly, changes in load may produce dull knocks.
The following symptoms warrant inspection:
-
cabin vibration has noticeably increased compared with the vehicle’s normal operation;
-
jolts occur when pulling away, changing gear or releasing the accelerator;
-
the flexible element is torn or separating from the metal section;
-
the mount has collapsed, the powertrain position has changed or nearby components show signs of contact;
-
a hydraulic mount shows signs of leaking its internal fluid.
Worn mounts can cause vibration and impacts, while tears and separation of the flexible element are important signs of damage. Mount manufacturer Anchor Industries identifies these symptoms in its technical diagnostic guidance.
However, an oily patch on a mount does not prove that the mount itself is leaking. Fluid may have dripped onto it from the engine above. Identify the source before drawing a conclusion.
Why Vibration Does Not Always Mean a Faulty Mount
Misfires, fuel delivery problems, flywheel faults or contact between the exhaust system and body can also cause vibration. If the engine runs unevenly, loses power or displays a warning light, its operation must also be investigated.
Two situations need to be distinguished. In the first, the engine itself produces excessive vibration. In the second, the engine operates normally, but the mounts no longer isolate the body effectively. Both faults can exist at the same time, so replacing a mount without diagnosis will not always resolve the problem.
How to Check Engine Mounts
Start with observations and a visual inspection. If the cause remains unclear, assess mount operation under the conditions specified by the manufacturer. There is no universal acceptable amount of engine movement for every vehicle.
Identify When the Symptom Occurs
For diagnosis, note whether vibration occurs with a cold or warm engine, at idle or while driving. It also matters whether the behaviour changed after repairs, an impact or installation of a new mount.
For example, vibration while stationary at idle and vibration occurring only at a particular road speed require different diagnostic approaches. In the latter case, the wheels and drivetrain components may also need attention.
Switching on the air conditioning changes the load on the engine. If vibration increases at that point, it is a useful observation for the technician, but it does not confirm failure of a particular mount.
Inspect Accessible Mounts
Carry out a visual inspection with the engine switched off and cool. Park the vehicle on level ground and secure it against movement. Inspect areas accessible from above using suitable lighting, without removing mounting hardware.
Check the flexible element, its bond to the metal, the brackets and visible fasteners. Look beyond cracks for changes in shape, misalignment, material separation and impact marks.
Not every opening in the rubber is damage. Some holes and slots are intentional design features. Compare any questionable area with an image of a serviceable component bearing the same part number.
Inspection from underneath requires a properly equipped work area. Never work beneath a vehicle supported only by a jack.
Assess Powertrain Movement
Some engine movement during starting and changes in load is normal. Assess the nature of the movement, any accompanying impacts and whether the behaviour is consistent with the vehicle’s design.
A technician should perform checks under load according to the service procedure. Attempting a test by pressing the accelerator with a gear engaged while holding the vehicle on the brakes creates a risk of uncontrolled movement.
Likewise, do not loosen mount fasteners or lift the engine by its oil sump to see whether vibration disappears. Unloading the mounts requires designated support points and suitable equipment.
How to Check Hydraulic and Controlled Engine Mounts
A hydraulic mount may lose its ability to damp vibration because of fluid leakage. However, a visual inspection does not always provide a complete answer, particularly when damage is internal or access is restricted.
Controlled mounts also require checks of their control system. Depending on the design, this may involve vacuum lines, electrical connections and actuators. Technical guidance from febi highlights both hydraulic mount leaks and faults in vacuum or electronic control systems.
Diagnostic scanning is useful where the system monitors the relevant components. However, the absence of a fault code does not confirm that a conventional rubber-to-metal mount is serviceable or rule out mechanical wear.
Which Engine Mount Has the Greatest Effect on Vibration?
The effect depends on engine layout, mount design, stiffness and the operating conditions in which vibration occurs.
In many vehicles, the main load-bearing mounts play a significant role in isolating vibration at idle. The torque mount primarily limits powertrain rotation under load. Wear in this mount may be more noticeable as jolts when pulling away or transitioning between acceleration and deceleration. However, these functions are interconnected.
A fault should therefore not be diagnosed solely from the component’s location. Replace a right-hand, left-hand or lower mount according to inspection findings rather than a general rule applied to every model.
What to Consider When Selecting a Replacement
Once a fault is confirmed, select a mount for the specific vehicle variant. Matching shape and mounting points do not guarantee suitable performance characteristics. ZF notes that mounts for different engines may have different stiffnesses even when they are geometrically compatible.
Start searching by vehicle make in the PolyPro passenger car parts catalogue. Then check that the specific product is suitable for your vehicle variant.
For commercial vehicles, browse the truck parts section. Assembly design, engine version and catalogue part number are equally important when selecting these components.
The flexible element’s material alone does not guarantee lower vibration. Increased stiffness may restrict powertrain movement while transmitting more vibration to the body. The replacement must therefore suit the mount’s function and the requirements of the specific vehicle.
Do All Engine Mounts Need Replacing at Once?
Replacing the entire set is not mandatory in every case. Inspect all mounts and make the decision according to their condition and the manufacturer’s requirements. If one is damaged, check the others for collapse, tears and signs of excessive loading.
After installation, check the powertrain position, correct fitment and fastener tightening. If vibration remains or becomes worse, reassess part compatibility, installation and the original cause of the symptoms.
Severe impacts, noticeable engine displacement or contact with nearby components require prompt inspection. A safe remaining driving distance cannot be determined from a description alone. Accurate diagnosis helps identify the cause and select a mount that restores the assembly’s intended operation.