
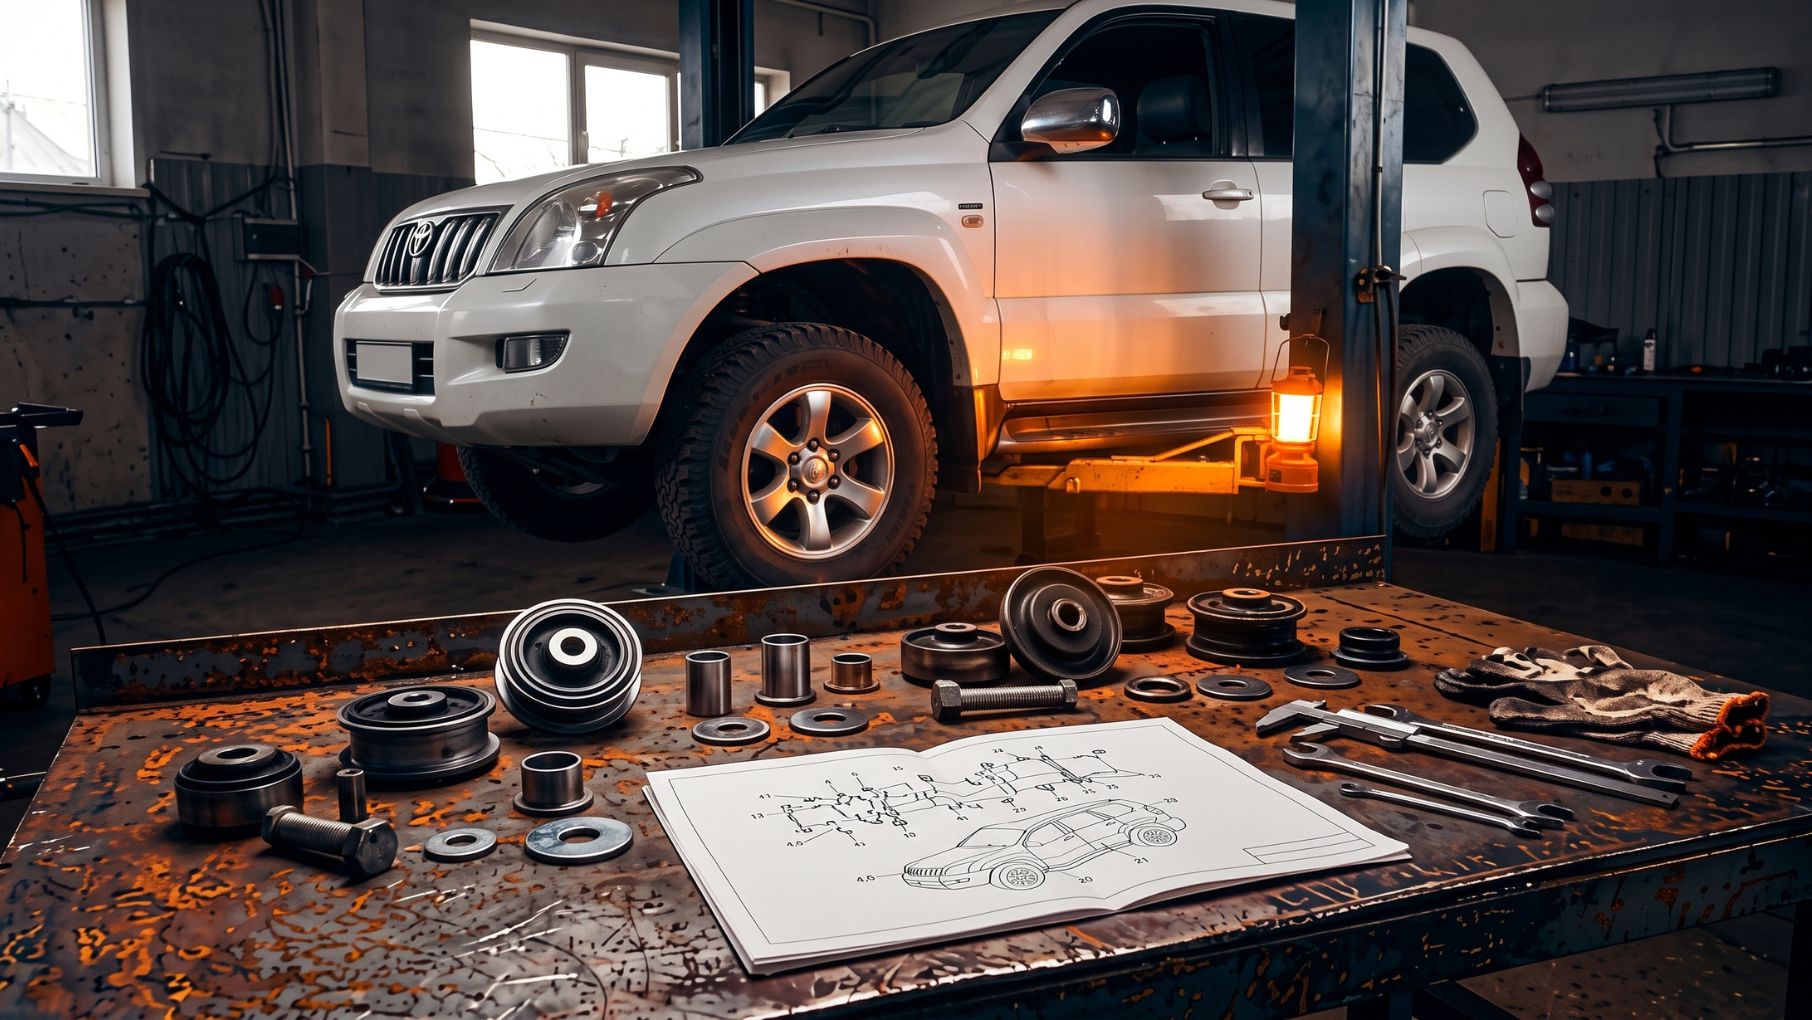
Toyota Land Cruiser Prado 120 Body Mounts: Selection by Installation Position
Prado 120 body mounts must be selected according to the specific body mounting point, the component’s position within the assembly and the original part number. Model name and year alone are not enough. The upper and lower mounts in the same mounting row may have different designs, and similar-looking components are not necessarily interchangeable.
To order the correct part, combine vehicle details with information about the installation position. This helps avoid buying a mount that is generally listed for the Prado 120 but does not fit the particular mounting point requiring repair.
What Are Prado 120 Body Mounts?
The Toyota Land Cruiser Prado 120 has a body-on-frame design. Its body is attached to the frame through dedicated mounts containing flexible elements. These components are sometimes called frame mounts, although body-to-frame mounts is the more precise term.
These parts work within a mounting assembly. They help limit the transmission of vibration and impacts from the frame to the body while providing the intended flexibility of the connection. Their condition affects comfort, but a knock beneath the floor does not automatically indicate a faulty body mount.
Body mounts must be distinguished from engine mounts, anti-roll bar bushings and control arm bushings. All may contain flexible material, but they serve different purposes and have different mounting arrangements and operating conditions.
Why Installation Position Matters More Than Appearance
Body mounting points are distributed along the frame. Catalogues may identify their locations by mounting row number, with individual components additionally specified as upper or lower.
The description “front mount” or “rear mount” is often insufficient for ordering. It identifies only a general area of the vehicle. Accurate selection requires checking the mounting diagram for the relevant vehicle variant.
Mounts in different positions may differ in height, diameter, supporting surface profile, central opening and sleeve design. Even being able to pass a bolt through the opening does not establish compatibility. The component must seat correctly against the mounting surfaces and work with the other parts of the assembly.
Use three details together as your reference: the diagram position, vehicle application and corresponding OEM part number. A photograph helps verify the selection but does not replace this information.
Upper and Lower Body Mounts: What Is the Difference?
“Upper” and “lower” describe the component’s position within a particular mounting assembly. They do not refer to two versions of one universal part.
For example, in the PolyPro catalogue for the 2002–2009 Toyota Land Cruiser Prado, the upper mount in the first mounting row has product code PP201250, while the lower mount in the same row has product code PP201249. The lower mount lists original part number 52202-35090. These are separate products, so an order must specify both the row and the mount’s position.
If a technician identifies damage to the lower component, ordering the upper one will not resolve the problem. Likewise, a single mount shown on a product page does not necessarily represent a complete body mounting assembly.
In the PolyPro body mounts section, compare component names, product codes and listed catalogue part numbers. Before ordering, check the full product name, including the mounting row and whether the component is upper or lower.
How to Identify the Required Position on the Vehicle
The most reliable selection process starts with identifying the vehicle, then locating the faulty mounting point. Use the VIN or chassis number and the corresponding parts catalogue.
The year of first registration does not always match the production date. The name “Prado” alone also does not establish the generation, body configuration or other vehicle specifications. Selecting parts from a description such as “Toyota Prado 2009” may therefore be ambiguous.
If the mounting row number is unknown, provide a photograph with the location marked rather than guessing. Check the numbering against the specific diagram being used for selection.
A photograph of the removed mount is also useful, but the old component may be deformed or may have been incorrectly fitted during a previous repair. Its appearance does not always reflect the vehicle’s factory specification.
Why Check OEM Part Numbers and Dimensions?
The OEM part number helps link a specific item in the original catalogue to the corresponding replacement component. A PolyPro product code and a Toyota part number serve different purposes: the first identifies the product in the PolyPro catalogue, while the second helps verify its correspondence with the original part.
Also distinguish original part numbers from other manufacturers’ references that may appear alongside them in a cross-reference list. A matching reference should also be checked against the application for the specific vehicle.
Dimensions provide an additional check. Compare height, mounting diameters, the central opening and surface profiles. However, a worn mount may have lost height through compression. Selecting a replacement solely by the dimensions of the old component can repeat an existing mismatch.
Vehicles with body-lift spacers or modified mounting points require particular attention. In these cases, compare factory catalogue information with the actual assembly.
Which Signs Indicate a Need for Inspection?
Damaged body mounts may cause knocking over bumps, squeaking or more noticeable impacts inside the cabin. However, suspension faults, exhaust mountings and other components can produce similar symptoms.
Inspection involves more than listening for noise. Check the flexible element, its position and the metal mounting components. Reasons for a closer inspection include:
-
Tears, significant deformation or deterioration of the mount material.
-
Displacement of the component from its intended seat.
-
Signs of unwanted metal-to-metal contact.
-
Corrosion of washers, sleeves, bolts or supporting surfaces.
-
Damaged or loose mounting hardware.
Replacing a mount will not restore a metal support weakened by corrosion. If several components are affected, plan the repair around the entire damaged assembly.
Polyurethane Body Mounts: What to Consider Before Buying
When selecting a polyurethane body mount, assess the specifications of the individual product. The material name alone does not determine stiffness, comfort or service life.
Polyurethane formulation, component geometry, mounting design and correct installation all affect performance. A claim that every polyurethane mount is necessarily stiffer or more durable than every rubber mount is therefore too broad.
If several versions are offered for the same mounting position, clarify their differences and intended applications. Increased stiffness is not a universal advantage for an everyday vehicle. Choose according to the required mount characteristics and the Prado’s operating conditions.
A Single Mount or a Complete Set?
Decide the scope of replacement after inspecting all body mounting points. Localised damage does not always require replacing the entire set, but fitting one new component will not resolve problems with other collapsed or deteriorated mounts.
Before buying, establish exactly what the product includes. A single flexible element, a pair of upper and lower mounts and a vehicle set have different contents. Bolts, washers, nuts and sleeves may need to be ordered separately.
Follow the repair documentation for the relevant vehicle variant during installation. The assembly sequence and tightening torque cannot be determined from the mount’s appearance. A correctly selected component must operate within a serviceable and properly assembled mounting.
How to Prepare a Parts Selection Enquiry for PolyPro
To find the required product, clearly describe the vehicle and the affected mounting point. The most useful details are the VIN, production date, diagram position, upper or lower location and photographs. Include the OEM part number if it is already known.
Start with the Toyota parts catalogue at PolyPro. After selecting the model, check the specific mount’s application, product code and package contents.
Correct selection of Prado 120 body mounts starts with identifying the exact installation position. Once the position, catalogue part number and actual mounting design agree, it becomes much easier to order the correct component and prepare everything needed for the repair.